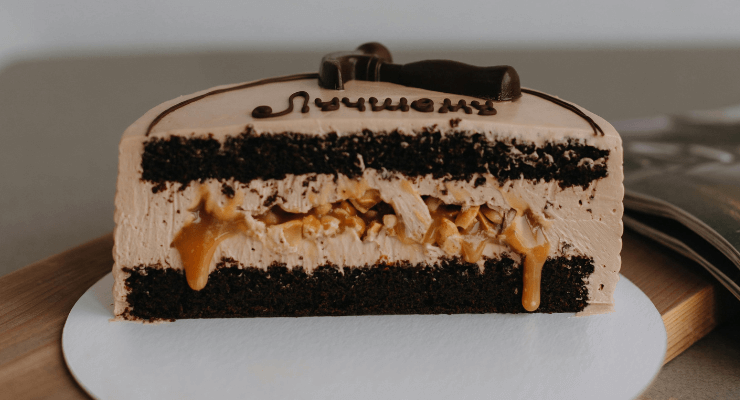
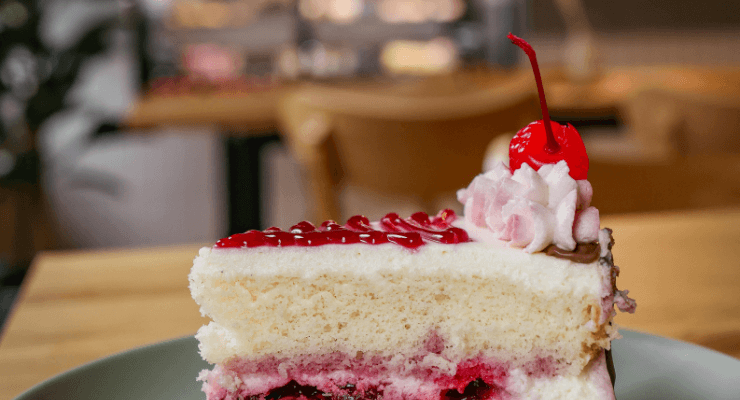
Cake sandwiches are a delightful combination of soft, fluffy cake and creamy, flavorful fillings. If you’re looking for a fun and unique way to enjoy cake, a cake sandwich offers a creative twist on a traditional dessert. Whether you’re making it for a birthday, a party, or just to satisfy your sweet tooth, it is easy to prepare, customize, and, most importantly, delicious.

In this guide, we will walk you through the step-by-step process of making a cake sandwich from scratch, along with tips to help you create the perfect sweet treat. Plus, we’ll answer a few frequently asked questions to ensure your cake sandwich turns out just right.
Why Make a Cake Sandwich?
The cake sandwich is a dessert lover’s dream! It combines the soft texture of cake with the rich creaminess of a filling in a sandwich form, making it an ideal choice for those who love experimenting with desserts. Unlike traditional cake slices, the sandwich style allows for more creativity and portability. It’s a dessert that looks fancy, tastes great, and is easy to eat with your hands.
Ingredients You’ll Need
Before we dive into the recipe, gather the following ingredients:
For the Cake:
– 1 ½ cups all-purpose flour
– 1 tsp baking powder
– ½ tsp baking soda
– ¼ tsp salt
– ½ cup unsalted butter (softened)
– ¾ cup granulated sugar
– 2 large eggs
– 1 tsp vanilla extract
– ½ cup milk
For the Filling:
– ½ cup heavy cream
– ¼ cup powdered sugar
– 1 tsp vanilla extract
– Fresh fruit (optional) – strawberries, blueberries, or bananas
– Chocolate chips, caramel, or any other add-ins you like
You can also choose a store-bought cake mix and fillings to save time.
Step-by-Step Instructions to Make a Cake Sandwich
Step 1: Prepare the Cake Batter
1. Preheat the oven to 350°F (175°C). Grease two round 8-inch cake pans with butter or non-stick spray, and line the bottoms with parchment paper.
2.In a mixing bowl, combine the flour, baking powder, baking soda, and salt by sifting them together. Set it aside.
3. In a separate bowl, use an electric mixer to beat the butter and sugar until it becomes light and fluffy. This should take about 2-3 minutes.
4. Incorporate the eggs individually, ensuring to mix thoroughly after adding each one. Then add the vanilla extract.
5. Slowly incorporate the dry ingredients into the mixture, alternating with the milk. Start and finish with the dry ingredients to ensure everything blends smoothly. Avoid overmixing; simply stir until all ingredients are fully combined.
Step 2: Bake the Cake
1. Pour the cake batter into the prepared pans and spread it evenly.
2. Bake for 25 to 30 minutes, or until a toothpick inserted into the center comes out clean.
3. Remove the cakes from the oven and let them cool in the pans for about 10 minutes. Next, place the cakes on a wire rack to allow them to cool completely.
Step 3: Prepare the Filling
While your cakes are cooling, it’s time to prepare the filling. You can go with a classic whipped cream filling, or add a twist by incorporating fruits or chocolate.
1. In a bowl, whip the heavy cream, powdered sugar, and vanilla extract using an electric mixer until soft peaks form. Be careful not to overwhip the cream – you want it to be light and fluffy.
2. If you’re adding fresh fruit, chop them into small pieces and set aside.
Step 4: Assemble the Cake Sandwich
1. Once the cakes are completely cooled, slice each cake in half horizontally so you have four thin layers.
2. Take the first layer and spread a generous amount of whipped cream on top. Add a layer of fruit, chocolate chips, or any other fillings you desire.
3. Place the second layer of cake on top and repeat the process until all layers are assembled. You can either stop at four layers or create two cake sandwiches, depending on how much filling you want between each layer.
4. Once assembled, refrigerate the cake sandwich for about 30 minutes to allow the filling to set.
Step 5: Serve and Enjoy!
Your cake sandwich is ready to be enjoyed! Cut it into slices, just like a regular sandwich, and serve.
Tips for the Perfect Cake Sandwich
– For optimal cake texture, ensure all ingredients are at room temperature.
– Cool the cakes completely before slicing and assembling. Warm cake can cause the filling to melt and slide off.
– Customize your filling based on your preferences. Try different flavors of frosting, jam, or fruit for a personalized touch.
– Experiment with flavors by adding cocoa powder for a chocolate cake or lemon zest for a citrusy twist.

Variations of Cake Sandwiches
– Chocolate Lovers Cake Sandwich: Replace some of the flour in the cake batter with cocoa powder, and use chocolate ganache or Nutella as the filling.
– Berry Bliss Cake Sandwich: Incorporate strawberries, blueberries, or raspberries into the filling for a fruity burst of flavor.
– Caramel Crunch Cake Sandwich: Add a layer of caramel sauce and some crushed toffee or chocolate chips for a satisfying crunch.
Storing Your Cake Sandwich
If you have leftovers, store your cake sandwich in an airtight container in the refrigerator. It can last for up to 3 days. You can also freeze individual portions of it by wrapping them tightly in plastic wrap and storing them in a freezer-safe container for up to a month.
Conclusion
Making a cake sandwich is a fun and creative way to enjoy cake in a new form. With endless filling options and flavor combinations, you can create a customized dessert that suits any occasion. Whether you’re hosting a party or just treating yourself, it is sure to impress and delight!
Now that you know how to make this delicious treat, it’s time to gather your ingredients and get baking. Enjoy your homemade cake sandwich, and don’t forget to share it with your loved ones!
Frequently Asked Questions (FAQs)
1. Can I use store-bought cake mix for making cake sandwiches?
Yes! If you’re short on time or prefer the convenience, a store-bought cake mix will work perfectly for making a cake sandwich. Simply follow the package instructions for baking the cake, and focus on making a delicious filling.
2. What fillings work best for cake sandwiches?
Whipped cream, buttercream, and cream cheese frosting are popular fillings. You can also experiment with jams, fresh fruits, chocolate ganache, or even ice cream for a frozen treat.
3. How can I make a gluten-free cake sandwich?
To make a gluten-free cake sandwich, substitute the all-purpose flour with a gluten-free flour blend. Ensure that the rest of your ingredients, such as baking powder, are also gluten-free.
4. Can I make a cake sandwich in advance?
Yes, you can prepare the cake layers a day in advance and assemble the cake sandwich before serving. Just keep the cakes wrapped tightly in plastic wrap to retain moisture and freshness.
5. How do I keep the cake sandwich from becoming soggy?
Ensure your cake layers are completely cooled before assembling the sandwich. If using fruits or any liquid-based fillings, don’t overfill, as this can lead to a soggy cake.
As an Amazon Associate, I earn from qualifying purchases.


